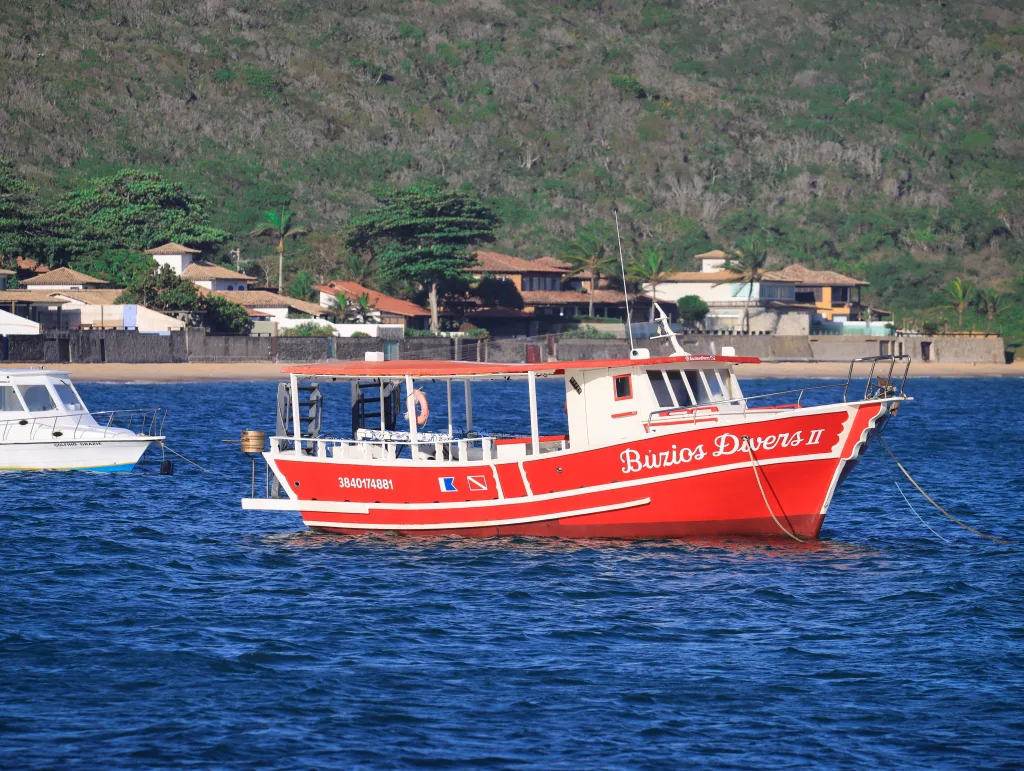

- Dreaming of Samba, Sun, and Soccer in 2026? Let’s Talk Visas!
- First Things First: What Exactly is the Brazil e-Visa?
- Who Needs to Apply? The Official Line-Up
- Your Brazil e-Visa Application Checklist
- Key Documents You’ll Need:
- The Nitty-Gritty: e-Visa Costs and Fees
- How Long Does It Take? Understanding Processing Times
- Our Advice on Timing:
- Step-by-Step: How to Apply for Your Brazil e-Visa
- Avoiding Headaches: Common Mistakes to Sidestep
- You’ve Got Your e-Visa! Now What?
Dreaming of Samba, Sun, and Soccer in 2026? Let’s Talk Visas!
Is brazil on your travel bucket list for 2026? With its vibrant culture, breathtaking landscapes from the Amazon to Iguazu Falls, and the promise of unforgettable experiences, it’s easy to see why. But before you start packing your flip-flops and practicing your portuguese, there’s a small but crucial piece of paperwork to sort out: the visa.
If you’re a traveler from the United States, Canada, or Australia, you might remember a blissful, visa-free period for visiting Brazil. Well, things have changed. Brazil is reintroducing a visa requirement for citizens of these countries, but don’t let that dampen your excitement! They’ve made the process incredibly streamlined with the electronic visa, or e-Visa. This guide will walk you through everything you need to know to get your Brazil e-Visa sorted, so you can focus on the fun part—planning your adventure.
First Things First: What Exactly is the Brazil e-Visa?
Think of the e-Visa as a modern, digital pass to enter Brazil. Instead of sending your passport away and waiting weeks for a physical sticker, the entire process is done online. You fill out a form, upload some documents, pay a fee, and—voilà!—an approved visa is delivered to your email inbox. It’s faster, more convenient, and saves you a trip to an embassy or consulate.
This system is specifically for tourism and certain business activities, not for work or residency. For travelers, it grants you permission to enter Brazil for a set period, making it perfect for your vacation, a visit to family, or attending a conference.

Who Needs to Apply? The Official Line-Up
This is the most important question! The e-Visa requirement is being reinstated for citizens holding passports from the following countries:
- The United States
- Canada
- Australia
The official start date for this requirement is April 10, 2025. If you plan to travel on or after this date, you will need an approved e-Visa to board your flight and enter Brazil. It’s essential to plan ahead, as you won’t be allowed to enter without it.
Your Brazil e-Visa Application Checklist
Getting organized is half the battle. Before you even start the online application, gather these documents and have them ready in a digital format (like a PDF or JPG). This will make the process smooth and stress-free.
Key Documents You’ll Need:
- A Valid Passport: Your passport must be valid for your entire stay in Brazil and have at least two blank pages for stamps. Make a clear, high-quality scan of the main biographical page (the one with your photo and personal information).
- A Recent Digital Photo: This is often where applications get stuck. The photo must meet specific requirements: it needs to be a recent, passport-style photo with a plain white background. You should be looking directly at the camera with a neutral expression. No hats, sunglasses, or blurry selfies! The file should meet the size specifications on the application portal.
- Proof of Financial Stability: Brazil wants to see that you can support yourself during your trip. You can prove this with recent bank statements (usually from the last 30 days) showing a minimum balance. The exact amount can vary, but a good rule of thumb is to show enough to cover your estimated expenses. Pay stubs or a credit card statement can also work.
- Round-Trip Flight Itinerary: You need to show proof of your travel plans. A confirmed flight reservation showing your name, travel dates, and flight numbers is required. You don’t need to have purchased the ticket yet; a reservation confirmation is usually sufficient.
- Proof of Accommodation: Where will you be staying? Provide copies of your hotel reservations. If you’re staying with a friend or family member, you’ll need an invitation letter from them, along with a copy of their Brazilian ID.
The Nitty-Gritty: e-Visa Costs and Fees
The cost is a key part of budgeting for any trip. The Brazilian government has set the e-Visa fee at approximately $80.90 USD. However, this fee is subject to change based on currency fluctuations and government policy, so it’s always a good idea to check the official application website for the most current price.
Be aware that this fee is paid directly on the official processing website during your application. There are third-party services that can help you with your application for an additional service fee, but you can complete the process yourself directly through the official provider, VFS Global.
How Long Does It Take? Understanding Processing Times
Patience is a virtue, but thankfully, you won’t need much of it here. The standard processing time for the Brazil e-Visa is typically around 5 to 7 business days. However, this is just an average. During peak travel seasons or if your application requires extra review, it could take longer.
Our Advice on Timing:
Don’t leave it until the last minute! We recommend applying at least one month before your planned travel date. This gives you plenty of buffer time to handle any potential delays or requests for additional information without stressing about your flight. Applying too early (more than a few months in advance) isn’t necessary, but applying too late is a recipe for anxiety.

Step-by-Step: How to Apply for Your Brazil e-Visa
Ready to get it done? The process is straightforward if you follow these steps.
- Gather Your Documents: Have all the digital copies from the checklist above saved and ready on your computer.
- Visit the Official Website: The official contractor for processing Brazil’s e-Visas is VFS Global. Avoid unofficial sites that may overcharge or be fraudulent. Always go directly to the source.
- Fill Out the Online Form: You’ll need to enter your personal information, passport details, and travel plans. Double-check every single entry for accuracy. Your name must match your passport exactly.
- Upload Your Documents: This is where your organized folder of digital files comes in handy. Upload each required document according to the instructions on the website.
- Pay the Visa Fee: Use a valid credit or debit card to pay the application fee securely through the online portal.
- Wait for Approval: After submitting, you’ll receive a confirmation email. You can usually track the status of your application online.
- Receive and Print: Once approved, your e-Visa will be sent to you as a PDF file via email. You MUST print a physical copy of it. Don’t rely on having it on your phone.
Avoiding Headaches: Common Mistakes to Sidestep
Many applications get delayed or rejected for small, avoidable reasons. Here are the most common pitfalls to watch out for:
- The Wrong Photo: A blurry photo, a selfie, a picture with a colored background, or one where you’re wearing glasses will almost certainly be rejected. Follow the passport photo rules to the letter.
- Passport Problems: Ensure your passport has at least six months of validity from your date of entry and two blank pages. An expiring passport is a common reason for denial.
- Vague Financial Proof: A single screenshot of your bank balance might not be enough. Provide official statements that show your name and a consistent, healthy balance over the last 30 days.
- Typos and Mismatches: A typo in your name or passport number can cause a rejection. Triple-check that every detail on the form perfectly matches your passport.
- Using Unofficial Websites: Scammers create convincing-looking websites. Stick to the official VFS Global portal to ensure your data is safe and you’re paying the correct fee.
You’ve Got Your e-Visa! Now What?
Congratulations! Getting that approval email is a great feeling. The e-Visa will be a PDF document. Your final steps are simple but non-negotiable:
Print it out. Keep a clean, clear paper copy of your e-Visa with your passport. You will need to present this to the airline staff at check-in and to the immigration officer upon arrival in Brazil. They will scan the QR code on the document to verify its authenticity.
The e-Visa for US citizens is typically valid for 10 years and allows for multiple entries, with a maximum stay of 90 days per visit. The validity for Canadian and Australian citizens may differ, so be sure to check the details on your approved visa. Getting this small but vital step out of the way means you’re officially ready to immerse yourself in the incredible energy and beauty of Brazil. Enjoy every moment!