
A kitchen that feels like a neighborhood living room
Walking into a Brazilian cooking class rarely feels like entering a sterile studio. Most often it resembles a lively living room where the host moves with practiced ease and invites you to roll up your sleeves. Expect laughter, questions shouted across the counter, and the kind of aromas that make your plans for the rest of the day irrelevant. pão de queijo — those warm, cheese-filled golden puffs — and brigadeiro — the glossy, fudgy chocolate bonbon — are staples of that atmosphere. They teach technique quickly, reward practice instantly, and taste like home.
Why start with pão de queijo and brigadeiro
Both recipes are deceptively simple yet illustrate foundational cooking principles. Pão de queijo focuses on starch behavior and oven technique: you learn how tapioca starch reacts to liquids and heat, how different cheeses affect flavor and elasticity, and how shaping influences bake time. Brigadeiro is a lesson in caramelization and texture control: sweetened condensed milk undergoes a transformation on the stovetop, and the final stage depends on how you judge thickness by touch and sight. These are practical skills that transfer to many other desserts and baked goods.

How a practical class is usually structured
Most hands-on classes begin with a short demo. The instructor explains the ingredients you’ll use and why they matter. Then you jump in: measuring, mixing, and cooking under supervision. Small group sizes—often under a dozen students—mean you get individual feedback on kneading, dough consistency, or how gently to fold ingredients. Classes vary in length; a focused session on these two items can run two to three hours, while a broader course might stretch across a half day and include additional snacks and plating tips. Expect breaks to taste, ask questions, and compare results.
Pão de queijo: ingredients, feel, and decisive moments
Core ingredients are tapioca starch, cheese, eggs, milk, and oil or butter. Tapioca starch gives the characteristic chew and gloss; it’s naturally gluten-free. Traditional recipes often use Minas cheese, which brings a mild tang and melty stretch. Outside Brazil, cooks commonly substitute Parmesan mixed with a softer cheese to mimic texture and flavor, but results shift subtly depending on fat and moisture in the cheese you choose.
The decisive moment happens when you mix hot milk and oil into the starch. That heat gelatinizes the starch and creates the elastic matrix that traps air during baking. The dough should be warm and tacky, soft enough to scoop but not runny. If it feels dry, add a splash more milk; if it’s sticky and impossible to handle, a few extra tablespoons of tapioca starch will restore balance. Hands-on classes emphasize judging dough by feel rather than by strict volumes; that instinct is what you’ll rely on when you make them at home.
Shaping and baking technique
Traditional shaping is by hand into small balls about the size of a golf ball, though piping the dough works if you prefer uniformity. Bake at a hot oven temperature so the exterior sets quickly and the interior puffs. If your oven runs hot, rotate the tray once to avoid uneven browning. Pão de queijo stores best warm; they lose some crispness if left out but will re-crisp briefly in a hot oven or toaster oven.
Brigadeiro: the stovetop lesson everyone remembers
Brigadeiro’s ingredient list is famously short: sweetened condensed milk, unsweetened cocoa powder (or melted chocolate), and butter. Those three create a glossy, fudgy mass with a deep chocolate flavor. The skill lies in controlling heat and timing. Cook too long and it becomes grainy; stop too soon and it remains loose and won’t hold shape. Most instructors teach the “spoon stage” test: the mixture is ready when it leaves a thick trail on the spatula and the bottom of the pan is visible for a second when you run the spatula through.
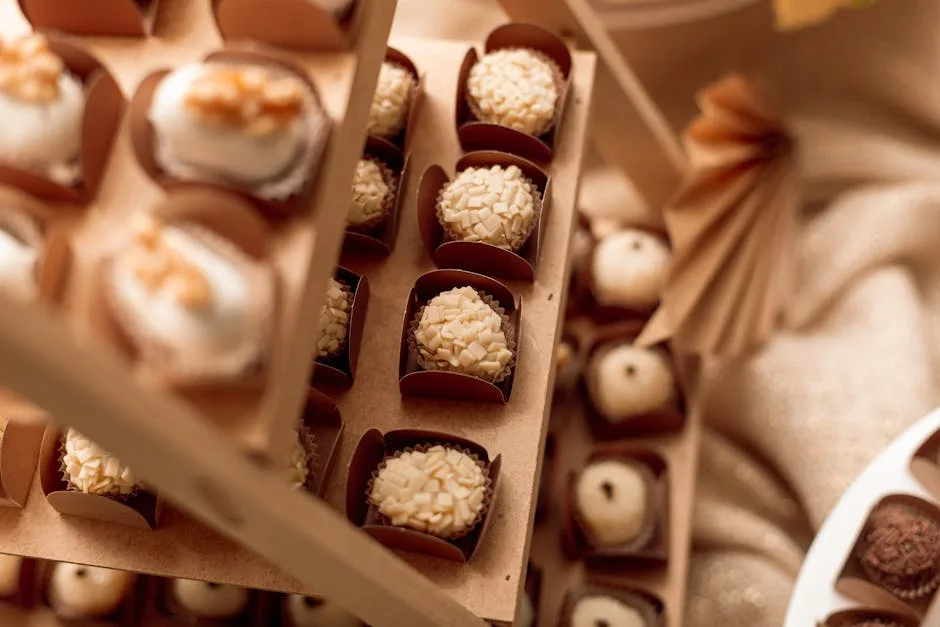
Rolling brigadeiros involves buttering your hands and spooning small amounts onto a plate to cool, then rolling and coating in sprinkles, cocoa, or nuts. Texture matters: some groups prefer brigadeiros firm enough to sit on a paper cup, while others like a softer bite that melts immediately. Both are correct — they reflect personal tastes and regional preferences. You’ll practice both in class and learn how slight changes in cooking time produce those different outcomes.
Common pitfalls and quick fixes
Beginners trip over a handful of predictable issues. For pão de queijo, using a cold liquid mix can prevent starch from gelatinizing properly; always add hot milk or water as the recipe directs. Overworking the dough won’t ruin it, but under-kneading results in a crumb that doesn’t puff well. For brigadeiro, uneven heat or a pan with a thin bottom encourages scorching, which leads to bitter bits in the final candy. Use a heavy-bottomed saucepan and stir constantly until you reach the right consistency.
Another widespread mistake is substituting ingredients without adjusting technique. For example, using a lower-fat cheese in pão de queijo reduces richness and may require a touch more oil to keep the dough pliable. If you prefer dark chocolate in brigadeiro, decrease the cocoa slightly and add a touch more butter to maintain shine. Classes teach adjustments like these so you learn to think flexibly rather than following a recipe verbatim.
Equipment and pantry essentials — pack this for a class or keep it at home
For an efficient session, bring a few items if the class invites personal tools: a small digital scale, a flexible spatula, and a wooden spoon. At home, a medium saucepan with a thick base makes all the difference for brigadeiro. For pão de queijo, a sturdy bowl for mixing and a baking sheet lined with parchment are enough; a piping bag gives a neat, uniform look but is optional.
Pantry staples to have on hand: good-quality tapioca starch (labelled either “tapioca starch” or “polvilho”), a couple cheeses to experiment with, unsweetened cocoa powder, and a can or two of sweetened condensed milk. Tapioca comes in two forms in Brazil — polvilho doce (sweet) and polvilho azedo (sour); each affects texture and flavor differently. If you’re buying abroad, look for tapioca starch or cassava starch and, if you find only one type, be ready to tweak hydration slightly. Keep common allergens in mind: both recipes regularly include dairy and eggs, so ask about substitutions if you have restrictions; many classes will offer alternatives or give you guidance for vegan or lactose-free versions.
Choosing a class: what matters beyond price
Price tells you little about the teaching quality. Look instead at class format and instructor background. Hands-on sessions allow you to practice techniques; demonstrations are good for watching refined plating but give you less tactile learning. Check whether the class emphasizes small groups and personal guidance. Ask if recipes and ingredient lists are provided so you can replicate them at home. A good instructor explains why an ingredient matters, not just how much to use — that’s the kind of explanation that turns a one-time success into consistent results.
Location shapes the experience. Community centers and local culinary schools often prioritize traditional methods and local ingredients. Private chefs or boutique studios may offer a blend of heritage and modern twists. Whatever you choose, prioritize classes where questions are welcomed and tasting is built into the session; that feedback loop — cook, taste, adjust — is how you internalize the right techniques.
How to get the most out of a single session
Show up hungry for detail. Ask the instructor to demonstrate borderline states: how a brigadeiro looks when it’s just shy of done, or how a dough feels when it needs another splash of liquid. Take photos of the process if the teacher allows it; those images help later when you’re trying to recreate the same textures. Taste everything and take notes on what you liked and what you’d tweak. Most importantly, ask for proportions in both weight and volume; home kitchens vary, and weights are more reliable than cups.
Practice one lesson at a time. Repetition solidifies the sensory cues instructors point out: the sheen of a finished brigadeiro, the elasticity of a well-made pão de queijo dough, or the way a baked puff cracks slightly on top. Plan a follow-up session at home within a week so the techniques stay fresh. If your first batch isn’t perfect, troubleshoot with the instructor or classmates — small tweaks often fix the problem.
Dietary substitutions and modern twists
Both recipes adapt well. For dairy-free brigadeiros, full-fat coconut milk or condensed coconut milk makes a rich base; expect a coconut overtone. Vegan pão de queijo versions replace eggs with a neutral binder and use plant-based oils; tapioca’s natural chewiness still delivers a satisfying result. Cheese choices change the flavor profile dramatically: sharper cheeses bring a saltier bite, while softer, creamier cheeses yield a more tender crumb. Classes that welcome experimentation will guide you through these swaps while preserving the technique behind the result.
Regional variations and family stories
Brazilians make pão de queijo and brigadeiro in countless homey iterations. Some families add herbs or chiles to the pão de queijo dough; others form brigadeiros in larger shapes and drizzle tempered chocolate over them. Teachers often share personal variations passed down through generations. Those anecdotes are useful: they reveal why certain steps exist and how recipes evolved with available ingredients. Listening to a local cook explain a family tweak gives you both context and permission to personalize your own batches later.
Serving, pairing, and presenting the results
Pão de queijo pairs beautifully with coffee or fresh-squeezed juice at breakfast, and with a cold beer or savory dips as an evening snack. Serve them warm, straight from the oven, on a simple linen napkin to keep them from steaming and losing their crispness. Brigadeiros live on dessert plates and in gift boxes. They complement strong coffee and are lovely next to fruit that cuts through sweetness, such as slices of fresh pineapple or a tart citrus sorbet.

Packaging brigadeiros and pão de queijo for gifts
For gifting, wrapping matters more than you might think. Place brigadeiros in small paper cups and pack them in a rigid box to prevent squishing. Include a small cooling pack if they’ll travel in warm weather; the chocolate surface can soften. Pão de queijo stay freshest when wrapped in a cloth-lined basket that allows a bit of airflow rather than an airtight container, which traps steam and makes them soggy. A handwritten note explaining when they were baked and how to reheat them adds a personal touch people remember.
After the class: practice routines that stick
Turn learning into habit by scheduling short practice sessions. Make a small batch of brigadeiros once a week and vary coatings or cocoa percentages to explore flavor balance. For pão de queijo, practice shaping with different-sized tools to see how size affects bake time and interior texture. Keep a lab notebook of adjustments: if you added extra starch, write down how the mouthfeel changed. Over time those concise notes become a tailor-made recipe that works with your oven, local ingredients, and taste preferences.
Finding ongoing community and continuing your education
Cooking classes often create small communities. Exchange contact details with fellow students and organize a recipe-swapping session or a potluck where everyone brings a batch of their best attempts. Many instructors recommend follow-up classes that explore regional variations or more advanced pastry techniques. If you want formal credentials, look for longer programs at culinary schools; if you want relaxed, social learning, small bespoke workshops are ideal.
Leave with more than recipes
A good class gives you technique, confidence, and a sense of how food fits into daily life. You leave knowing why tapioca behaves one way and condensed milk another, how to rescue a near-miss, and how to make quick substitutions without losing the soul of the recipe. That practical knowledge empowers you to recreate moments from Brazilian kitchens in your own home — warm bites shared over conversation rather than perfect Instagram shots. That’s the real value of taking a class.
Next steps: what to try at home first
Start with a small practice batch of each recipe the day after your class. For pão de queijo, focus on mastering dough feel and shaping. For brigadeiro, concentrate on recognizing the finished stage on the stovetop. Keep your first few attempts modest so you can make adjustments without pressure. Invite a friend over, serve coffee, and treat the session as a rehearsal rather than a test. You’ll improve quickly, and that friendly pressure combined with repetition cements the instincts you learned in class.